
How-to · Android
How to Back Up Your Notes
Make a verified, encrypted backup of your Anytime Notes notebook and keep a recovery copy outside your phone.
A full backup is a recovery copy of your notebook, including saved notes, checklists, photos and available history. Create one before changing phones or reinstalling.
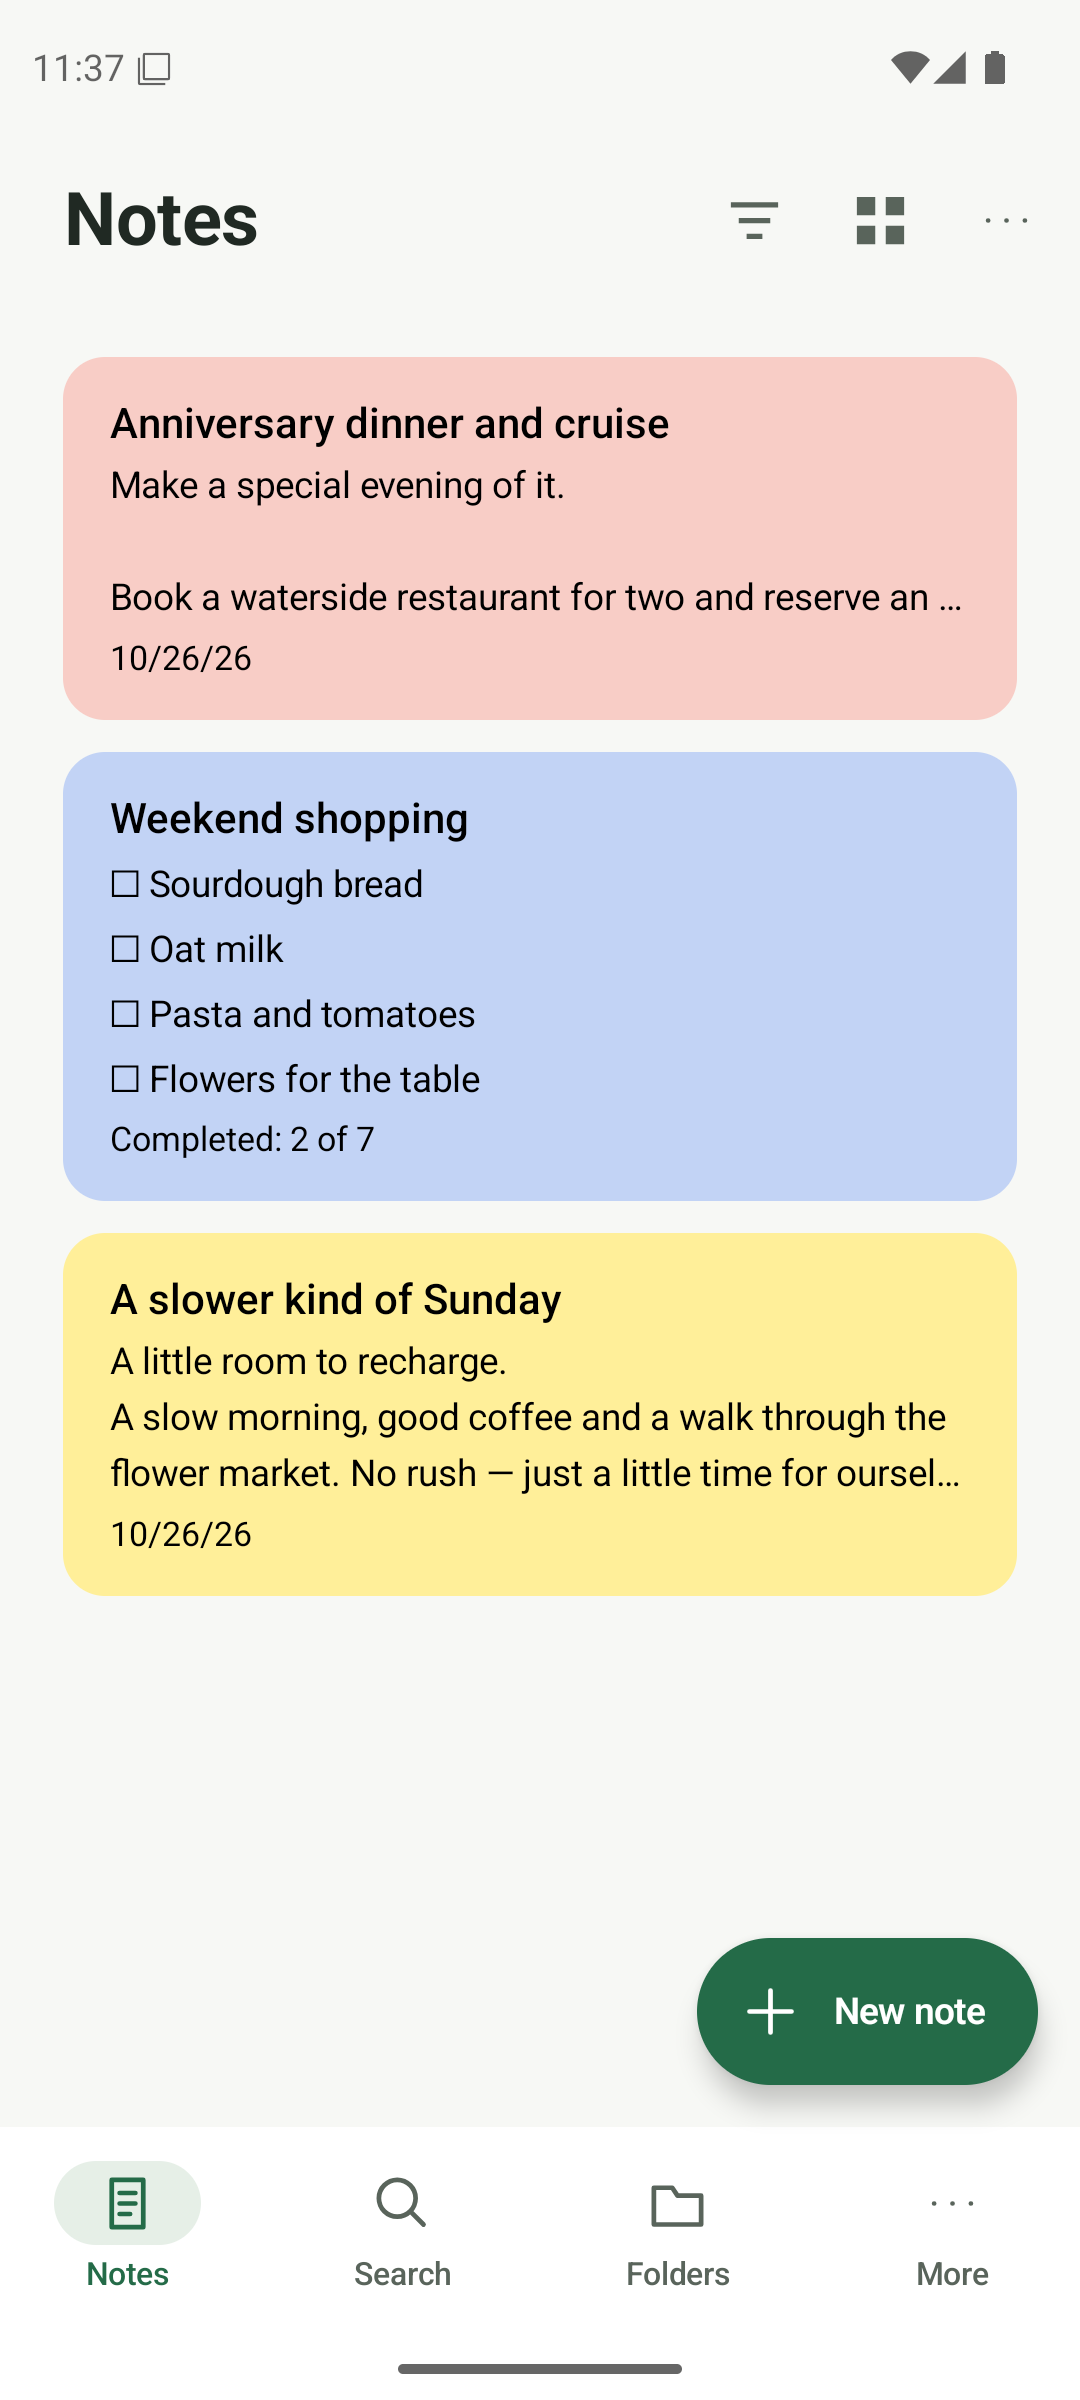
Open the backup tools
Finish saving your notes. Open More → Settings → Backup and protection, then choose the Back up tab. Manual encrypted backups are included in Free.
- Wait for your current note to finish saving before starting.
- Open More, then Settings, then Backup and protection.
- Select Back up, rather than exporting a readable text file.
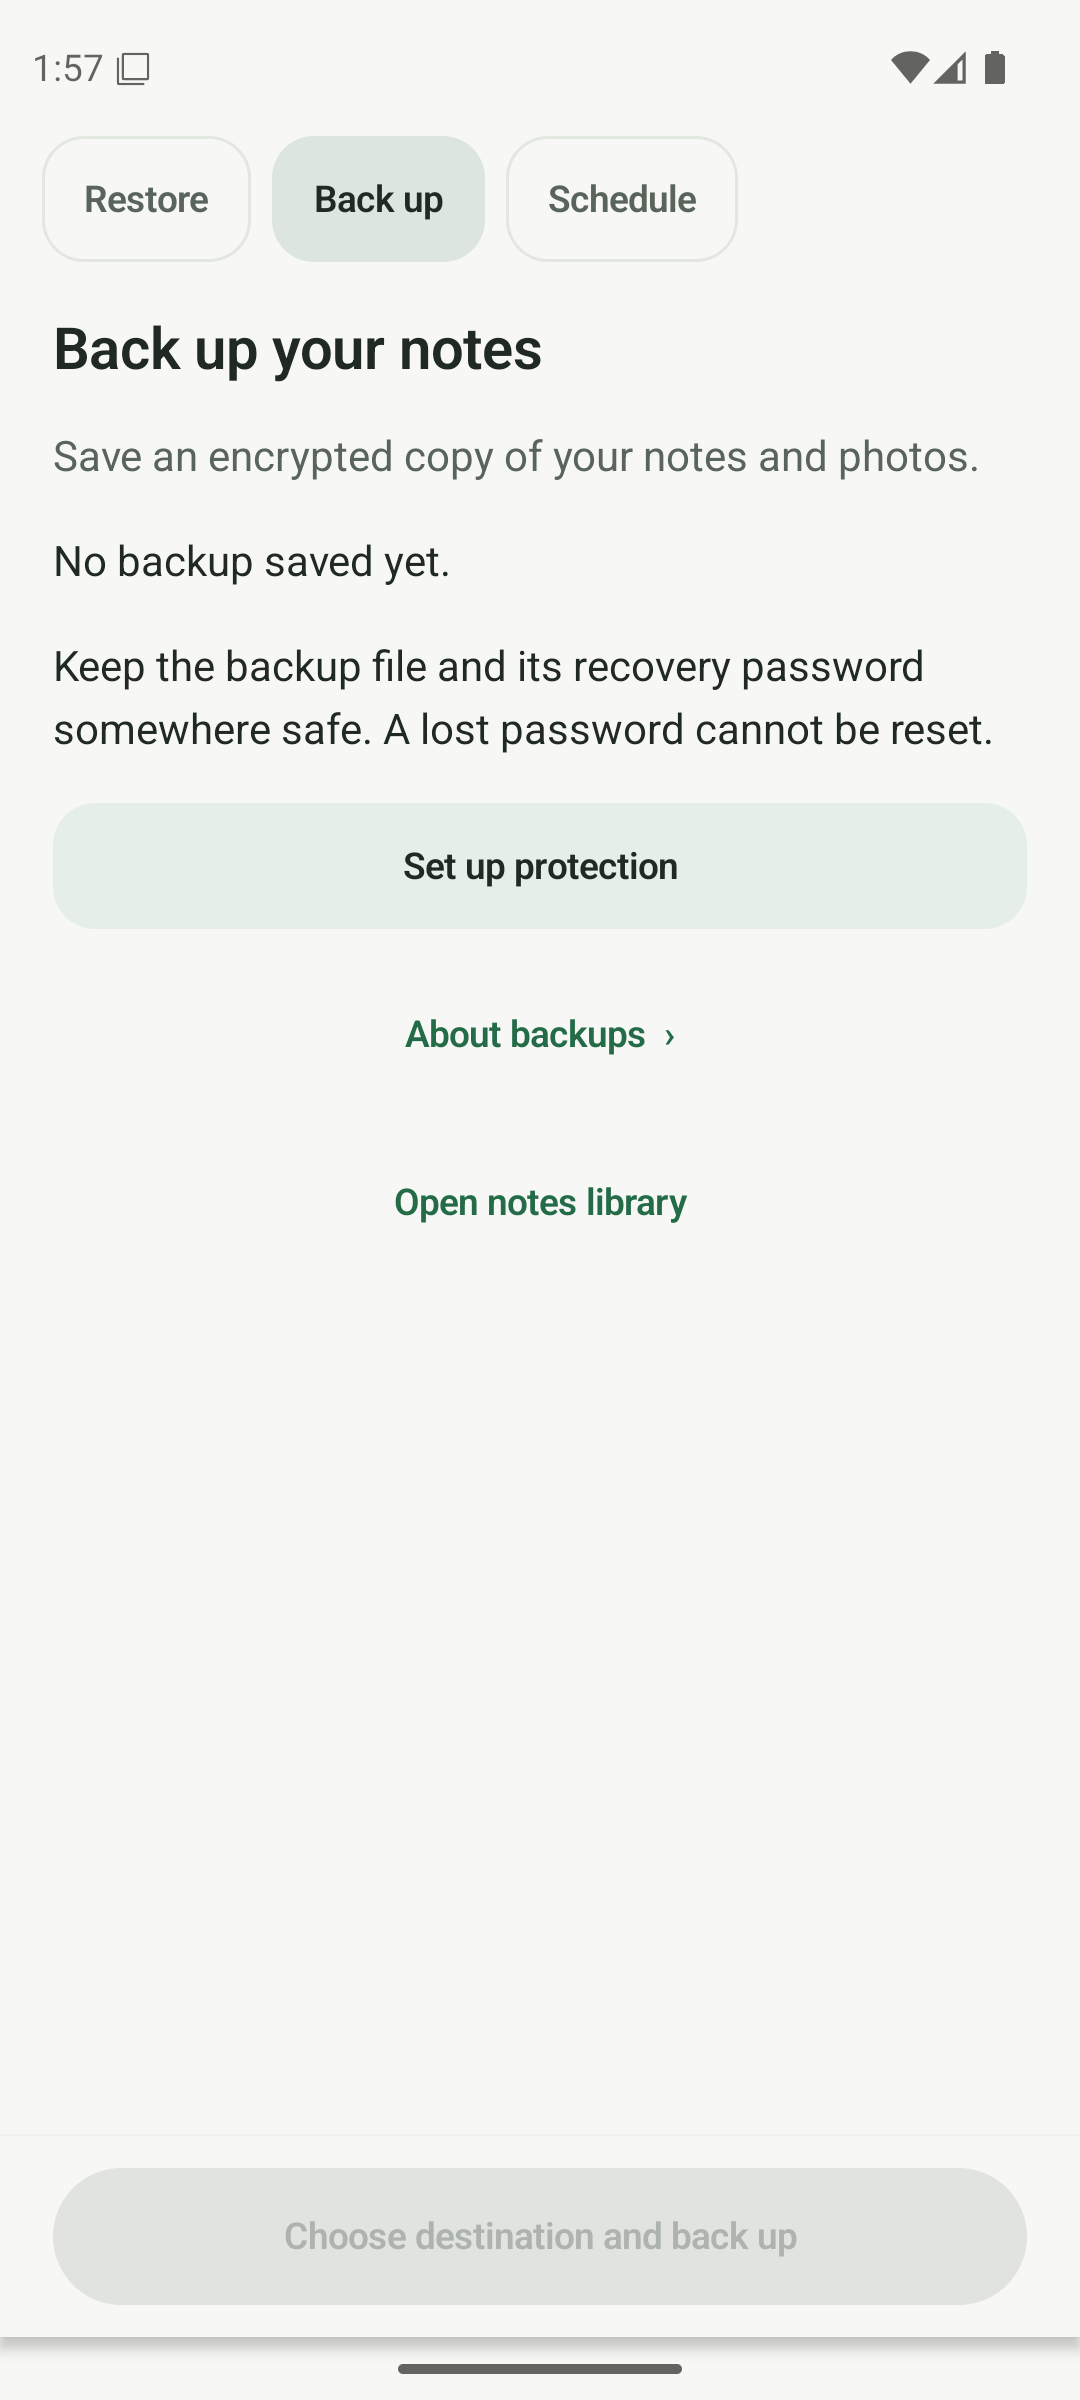
Open Back up to create an encrypted notebook backup. Set up recovery protection
If this is your first backup, tap Set up protection. Set a unique recovery password of 15–128 characters, confirm it, and complete the Android authentication requested by the app. If protection is already configured, keep using that recovery password; use Unlock protection if prompted.
- Choose a strong recovery password that you can keep safely.
- Enter the same password in both fields and follow the device authentication prompt.
- Support cannot reset this password. Old backups keep the password they were created with.
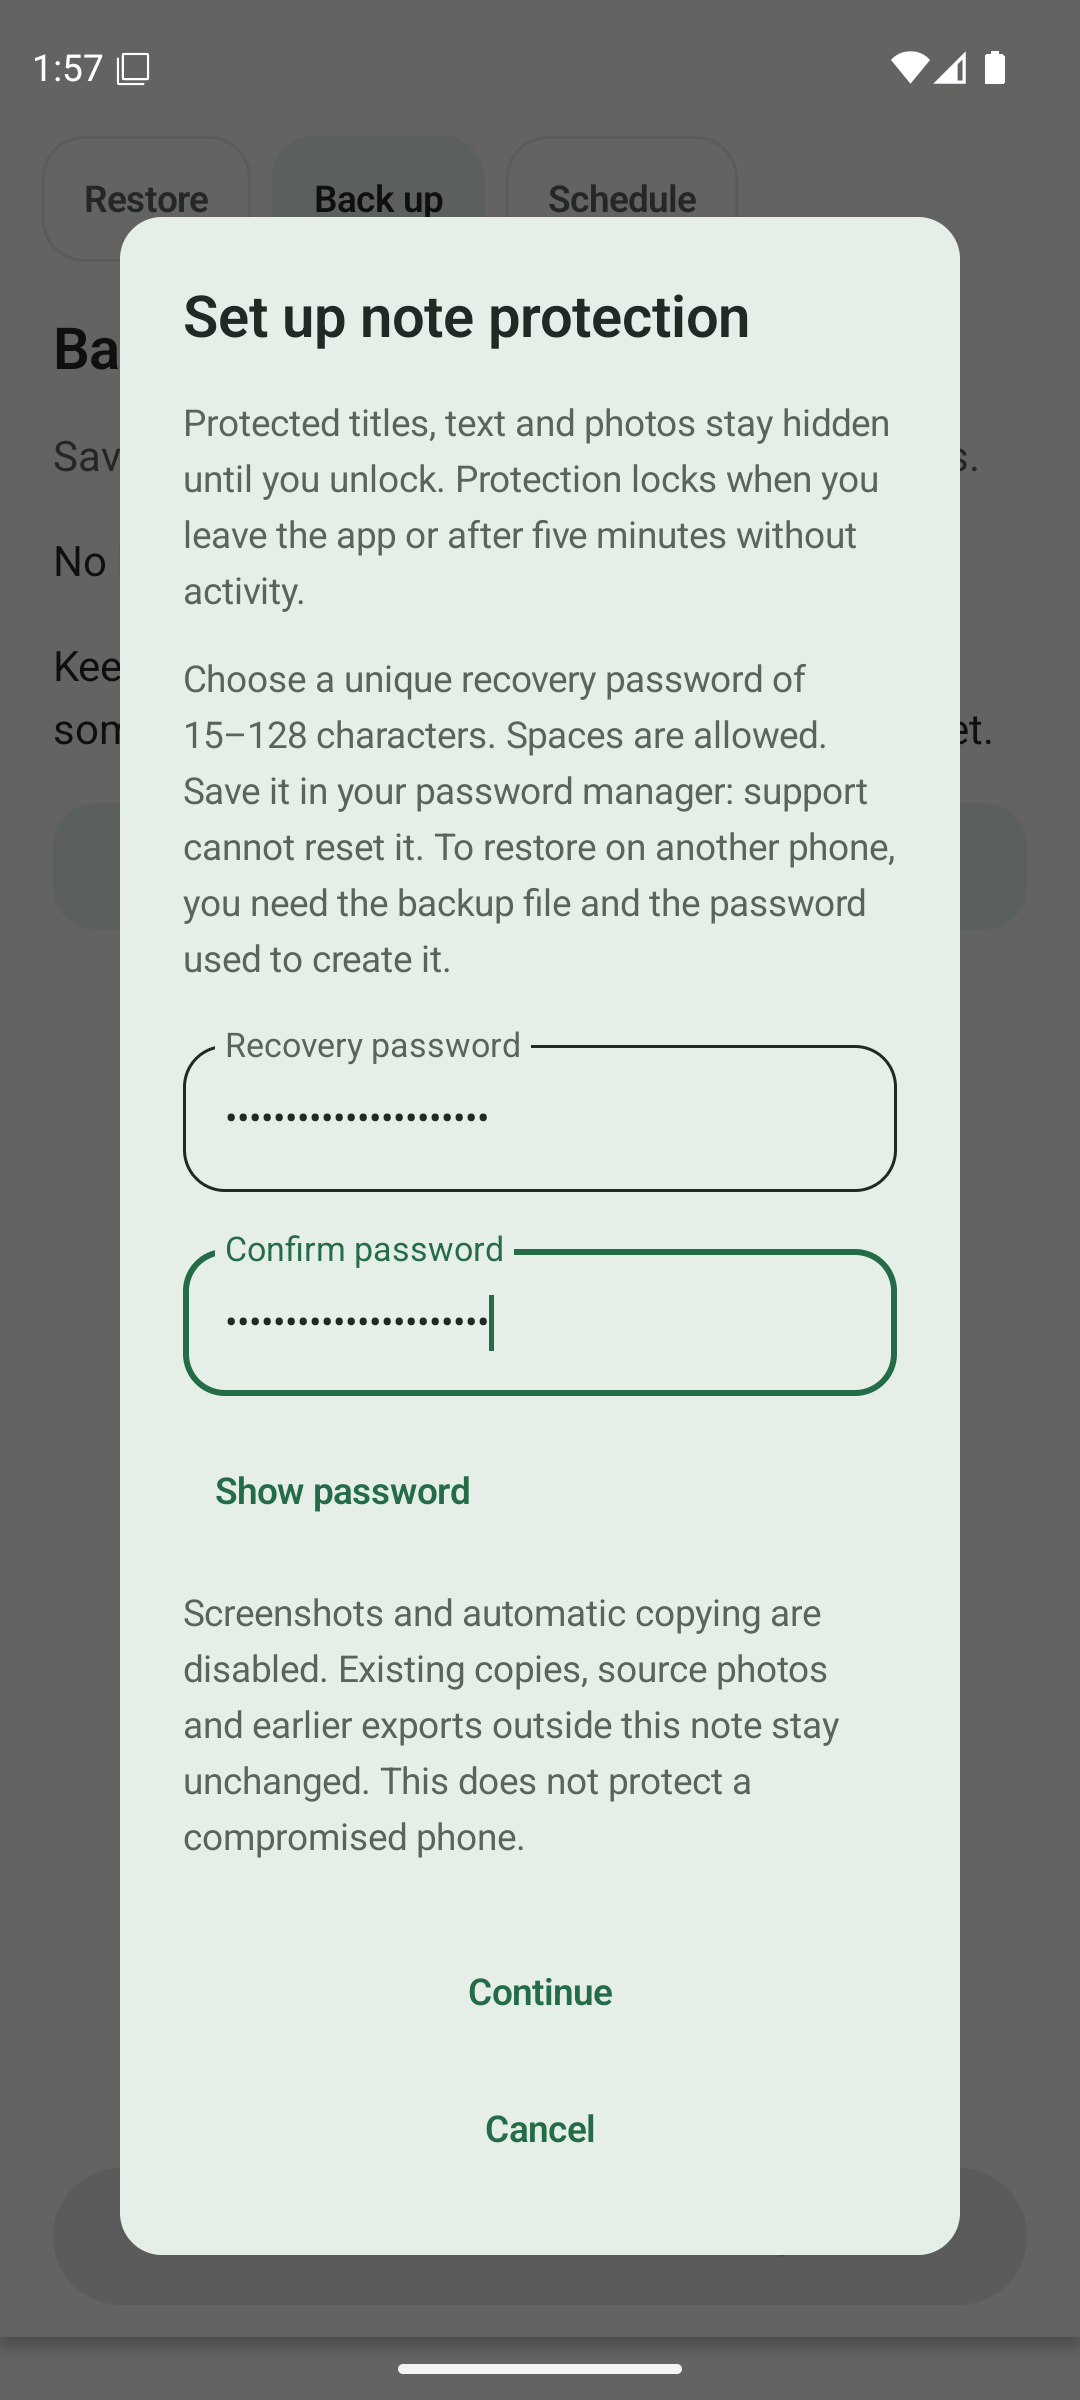
Set and confirm your recovery password when first configuring protection. Choose where to save the backup
Tap Choose destination and back up. In the Android file picker, choose a folder and save the .anbackup file. You can use a device folder or an available storage provider. Wait for Anytime Notes to finish.
- Tap Choose destination and back up.
- Choose the destination folder and confirm Save in Android’s file picker.
- Leave the app open while it writes and checks the backup.
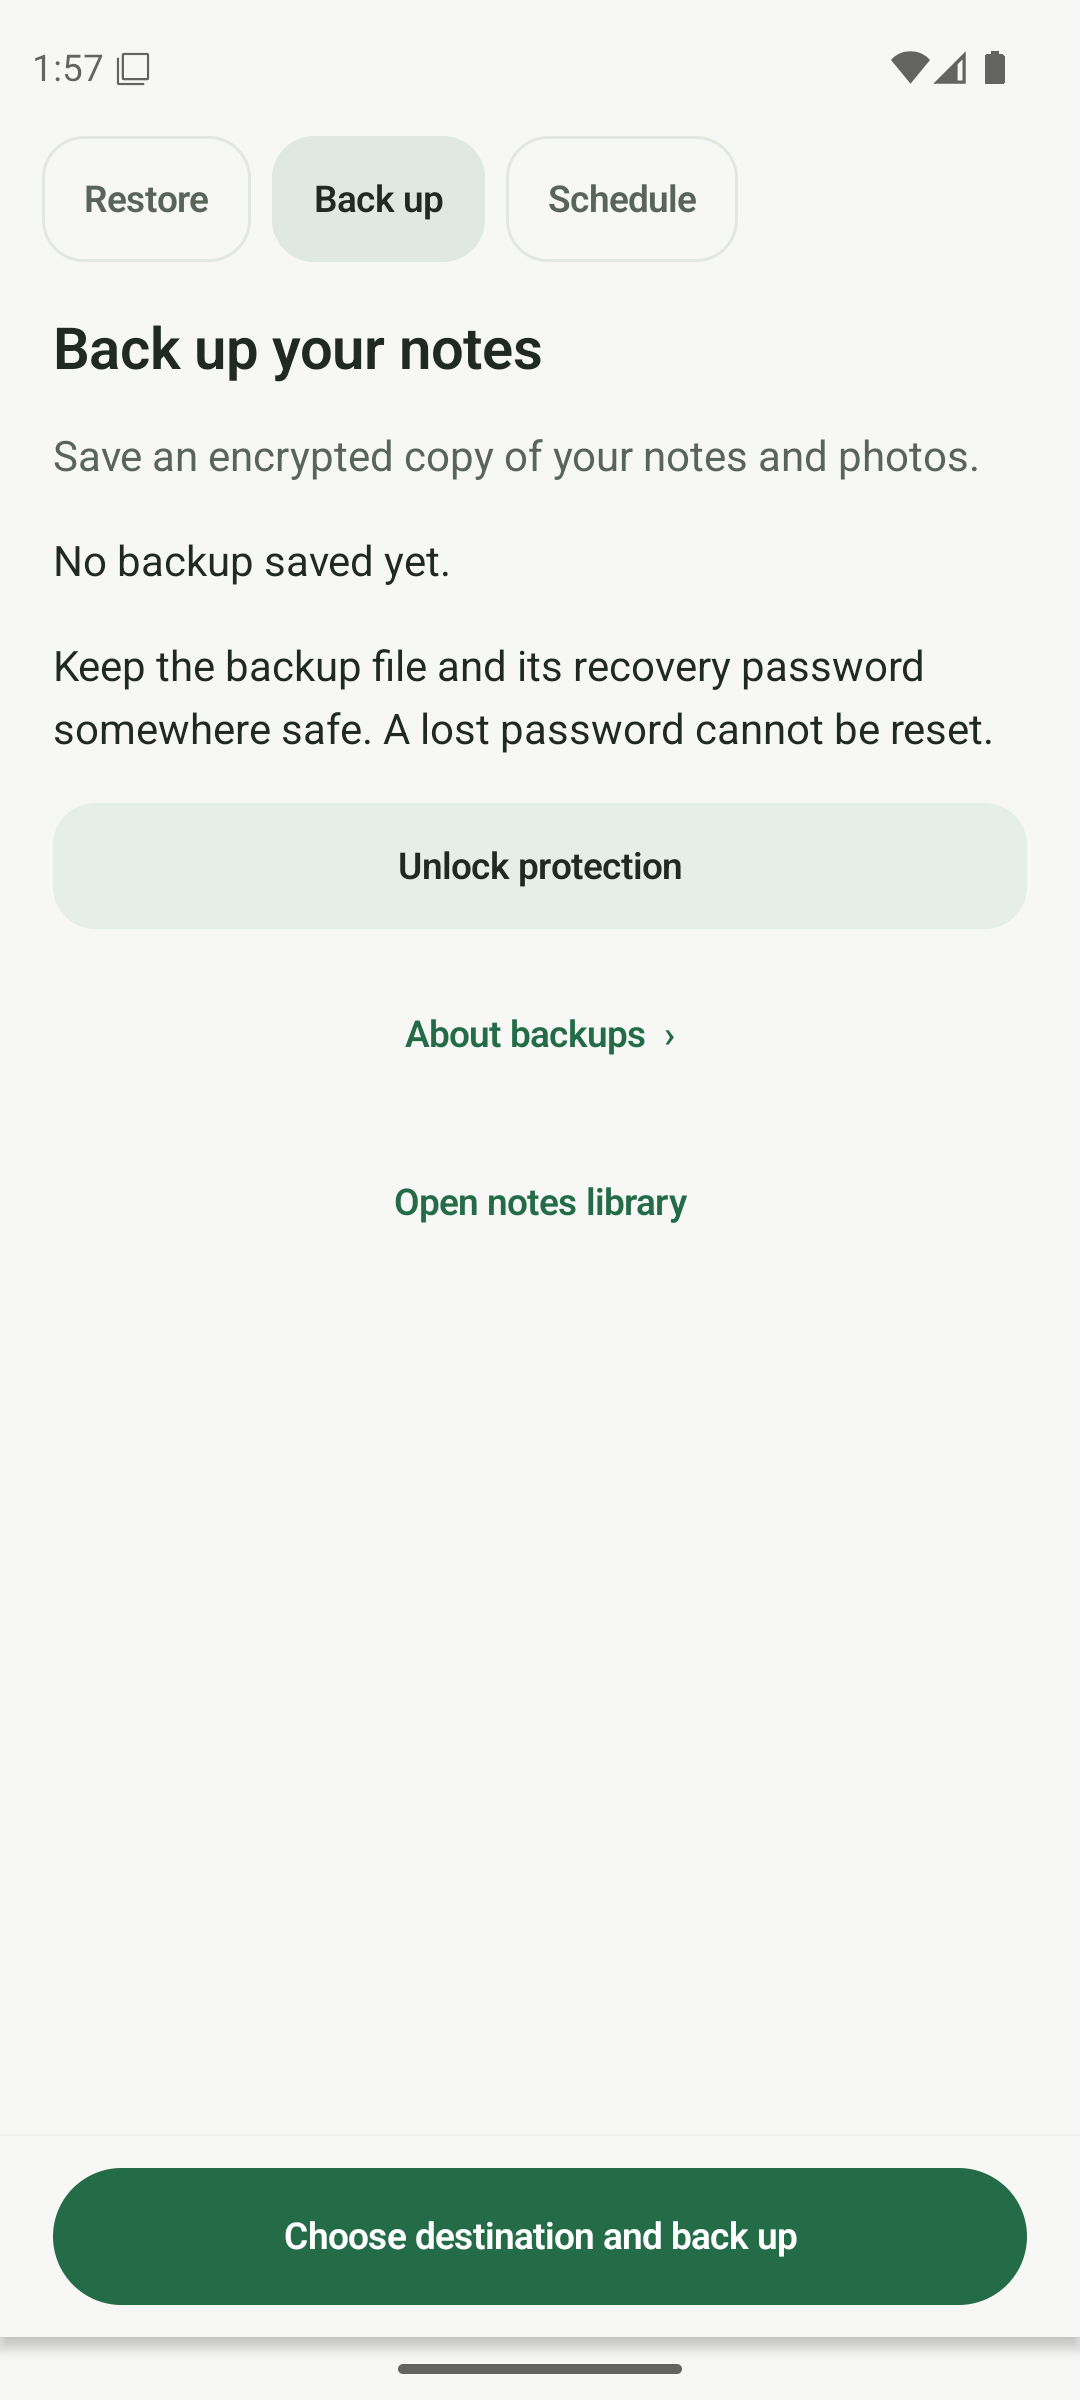
Choose a destination for the encrypted .anbackup file. Check the verified result
Look for the backup-completed message and the Last verified time. The app writes the encrypted file and reads it back before recording success. If there is an error, keep the app and its data, check storage or file access, and retry.
- Check that the app reports a completed, verified backup.
- Read the Last verified time and the backup summary.
- Do not uninstall or clear app storage to fix a backup error.
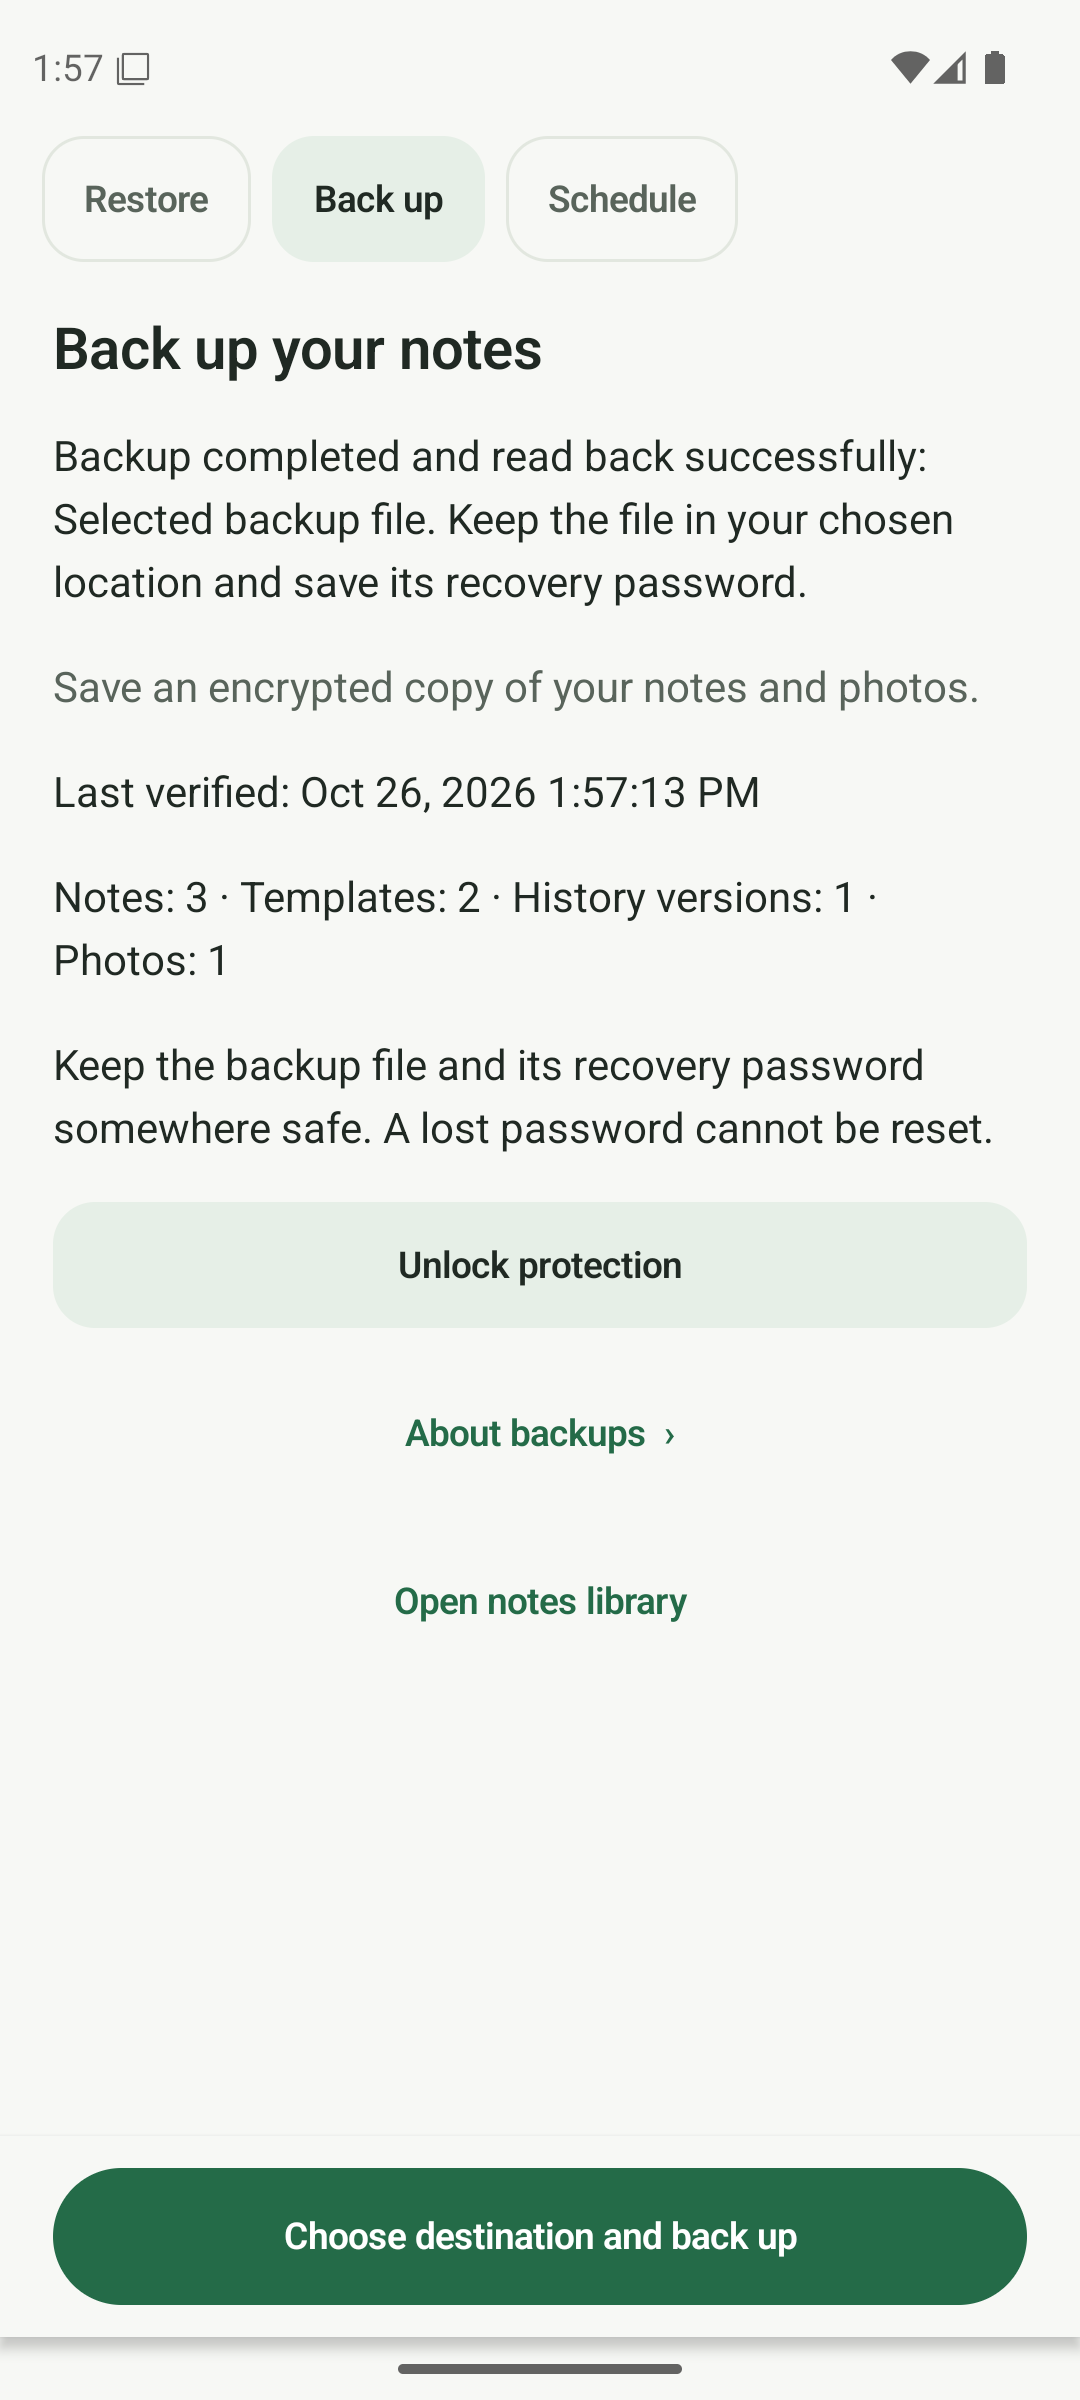
A completed backup shows a verified result and a summary. Keep a copy outside your phone
Copy the verified .anbackup file to another device or a trusted storage location. Keep its recovery password separately. For an extra check, open Restore, choose that backup, enter its recovery password and tap Preview backup. Stop at the preview if you only want to check it; Restore backup imports copies.
- Keep another copy somewhere you can reach if this phone is lost.
- Store the recovery password separately from the backup file.
- Use Preview backup to inspect the saved copy before changing phones.
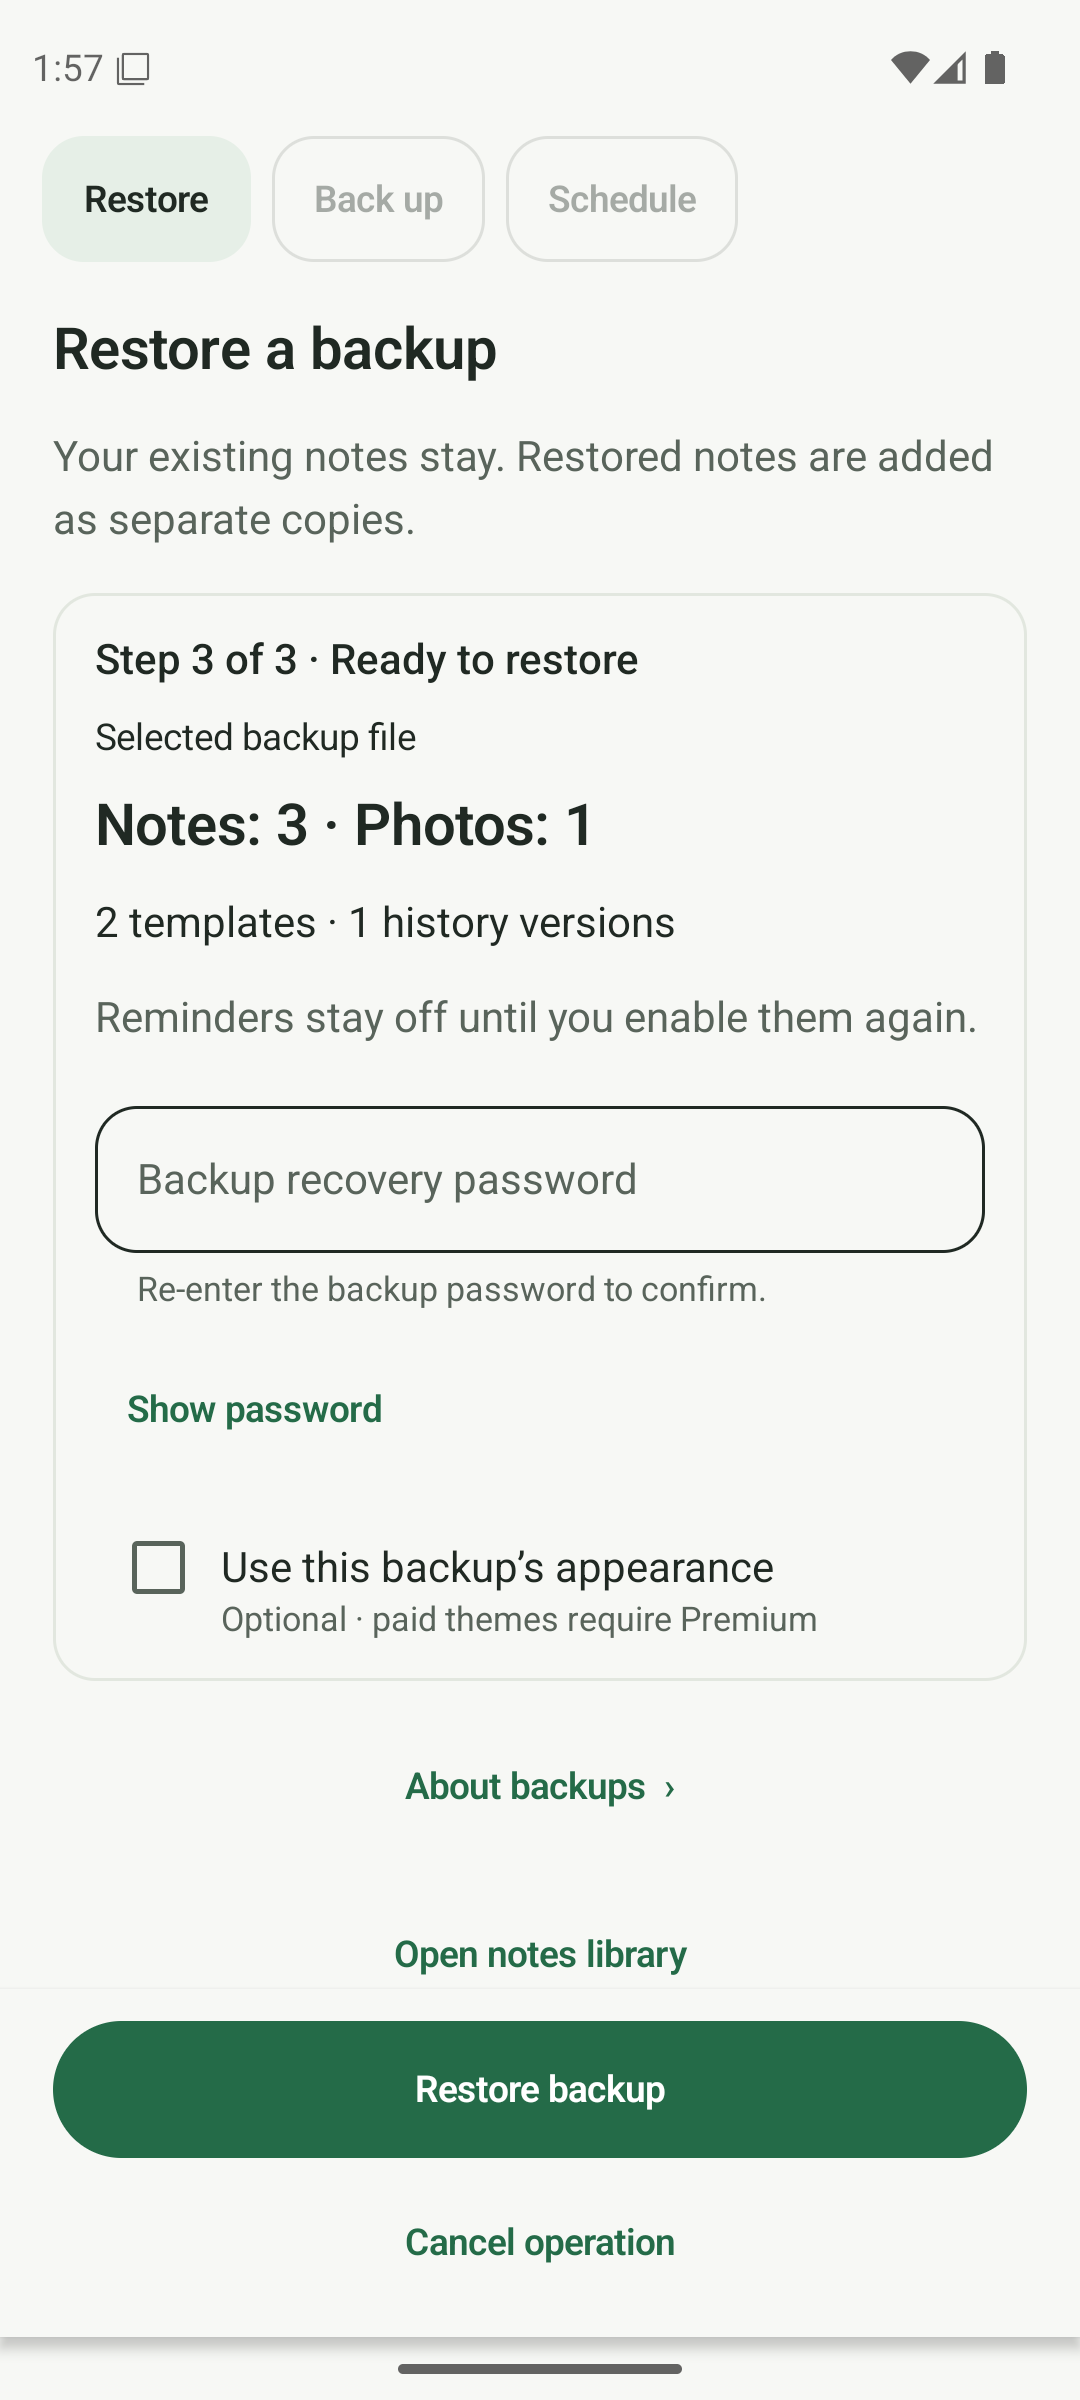
Preview the backup to check its contents without importing it.
Know someone who could use this?
Share this note
Get Anytime Notes
A little space for your notes, lists and everyday plans.
View on Google PlayAndroid availability depends on your region and testing access. If Google Play does not offer installation yet, please check back later.